- Featured
- Ingredient Spotlight
- Best Sellers
- Skincare
- Makeup
- Professional
- Blog
Toggle Nav 

How To Apply Eyeshadow Like a Pro
Do you find yourself wishing you could apply the perfect eyeshadow look? Perhaps you find single shadow application a breeze but struggle with layered techniques? Or maybe you want to brush up on your eye makeup artistry skills generally. If any of this rings true, then this guide on how to apply eyeshadow like a pro is for you.
It’s common to get into a bit of a rut with your makeup, falling back on failsafe styles you don’t love, or feeling too uninspired or time-pressed to try something new.
Before You Apply Eyeshadow
Getting back to basics on how to apply eyeshadow and understanding some of the key effects you can create will help you master a myriad of different looks to suit all occasions and vibes.
From easy eyeshadow looks to more advanced techniques, our Global Education Ambassador & Artistry Lead Janeena Rumsey shares her pro eyeshadow tips.
What’s the Difference Between Cream or Powder Eyeshadow?
OK, so this may sound like a basic question, but it’s actually super important to know the difference in your textures between cream and powder eyeshadow when deciding the effects to go for.
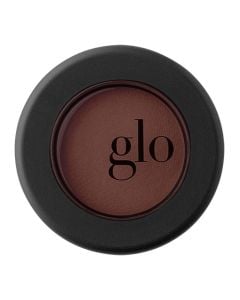
Applying Cream Eyeshadow
Initially when applied, cream eyeshadows tend to look a bit more dramatic but the further you blend, the more they melt into skin. Cream shadows layer beautifully and looks can range from a soft, watercolored effect to dramatic and painterly lids. They also work great under powdered shadows to intensify the pigment. I personally love using the heat from my fingers to blend and ensure each shade melts seamlessly into skin.
Applying Powder Eyeshadow
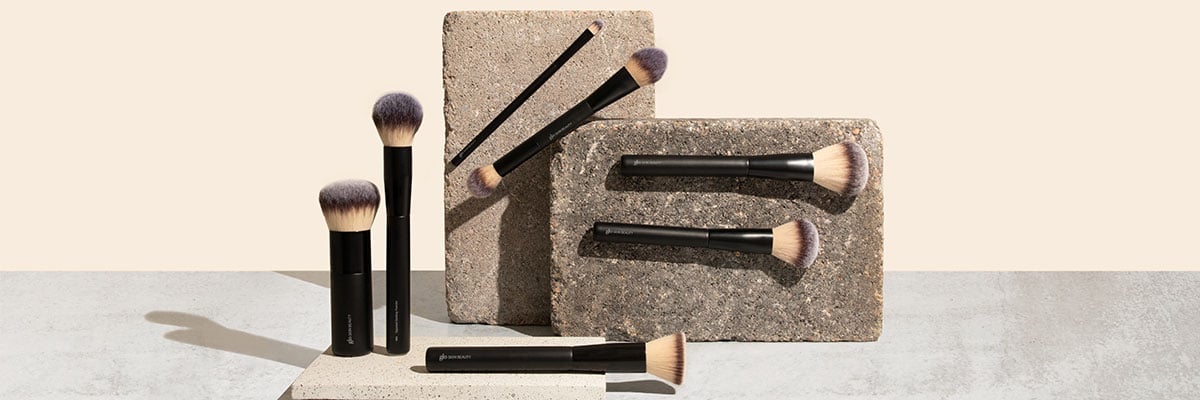
Powder eyeshadow tends to sit on the surface of the skin. Depending on the blending technique and tool used, powder formulas are more “seen” on the skin. Most common eye makeup brushes used for powder shadow application are flat or paddle shaped for lid and base application, fluffy and dome-shaped for lightweight shaping and overall blurring/blending, or small and dense for liner or detail work and added depth.
Priming Before You Apply Eyeshadow
Priming is an often overlooked step when it comes to applying eyeshadow. But, if you're looking to create a vibrant eye statement that lasts and remains looking fresh throughout the day, priming is actually key. After all, eyeshadow primer is not only meant to create smudge and budge-proof staying power but also decreases the chance of color creasing, preventing fallout and intensifying pigment.
There are various priming techniques and formulas to choose from. Some even prefer a simple cream-based concealer but my advice is to keep it simple and don't overthink it. Pick an eyeshadow primer that’s lightweight, silky, glides onto lids evenly so anything applied on top will look seamless.
How To Apply Eyeshadow Step By Step
Step 1: Applying Eyeshadow Primer
On clean lids, lightly apply a small amount of eyeshadow primer from your lash line to brow bone using clean fingertips or a lightweight blending brush. Allow a moment for it to set before applying the eyeshadow. Remember that a little goes a long way, so if you’re using a liquid or cream based primer, the size of a grain of rice should be enough for the entire lid. Simply pat and blend until the priming formula melts into your skin.
Step 2: Applying Single Color Eyeshadow
Single color eyeshadow placement can be modern, expressive, fun, and extremely easy. This is a great eye makeup technique when you’re wanting to make a true color statement. Single color application can also be a simple base shade to even out skin tone and brighten the eye space. Base eyeshadow color palettes are usually a shade very close to your skin tone or a few shades darker. It’s most often applied from lash line to eyelid crease.
Decide whether you're going to go with a dark eyeshadow or a light eyeshadow. Lighter shades brighten and enhance the eye space, while deeper shades add depth and definition. Matte eyeshadow formulas are the foundation of eye makeup application as they add natural dimension. Shimmer shades are most often used as an accent.
For a more statement single eyeshadow, choose a vibrant cream or powder that pops on your skin tone and apply from lash line to crease. Soften any harsh edges through your crease and outer eye line with your favorite blending brush, fusing pigment into the skin. If you're really wanting to make a statement, use a single eyeshadow shade to create a bold graphic eye. Blend your shade of choice through the crease and lash line allowing for negative space on the lower lid.
Step 3: Applying Eyeshadow Transition and Crease Effects
One of the most important colors to use in an eyeshadow application is the transition shade. This is normally a neutral, matte shade—often a taupe, soft peach, caramel, or brown, used in between the crease color and brow bone in order to create shape and a gradient between colors. Using a transition or blending shade helps other colors meld more seamlessly into one another.
After a primer or a base shade is applied, apply a transition shade using a lightweight fluffy brush that fits snug into your eye socket, for seamless blending. Transition shades can also be applied to soften a dark crease shade and in this case, would be applied after a crease color to blur harsh edges.
To add depth and to accentuate your eye shape even more, use a crease shade. This is going to be your deepest shadow color and is most often applied into the eye socket. The denser the brush you use, the deeper the shading. For a more defined crease choose a smaller brush with a shorter and more compact brush head. For softer definition, choose a brush with longer bristles and a good amount of bend and flex to it.
Step 4: Applying Eyeshadow Effects
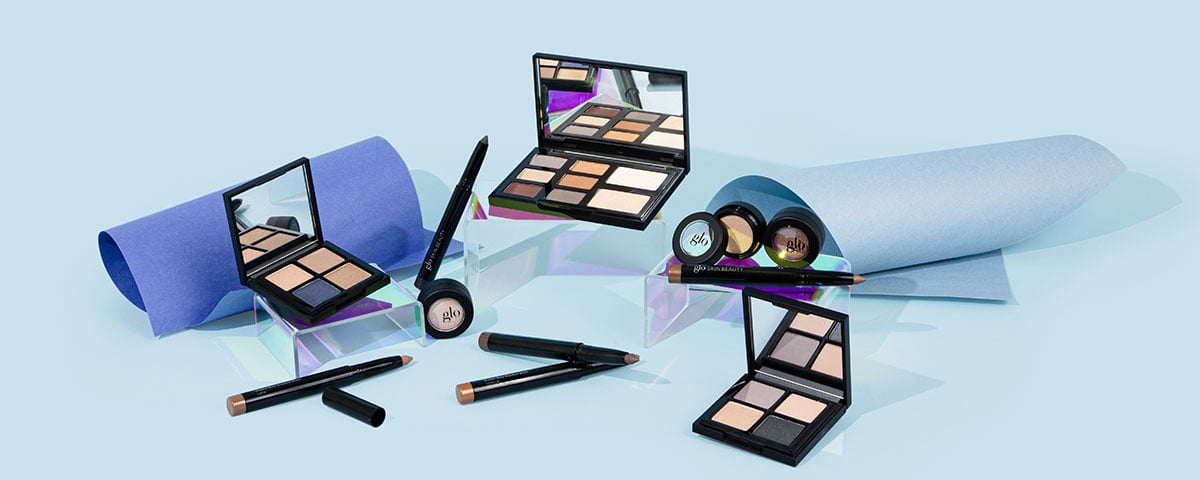
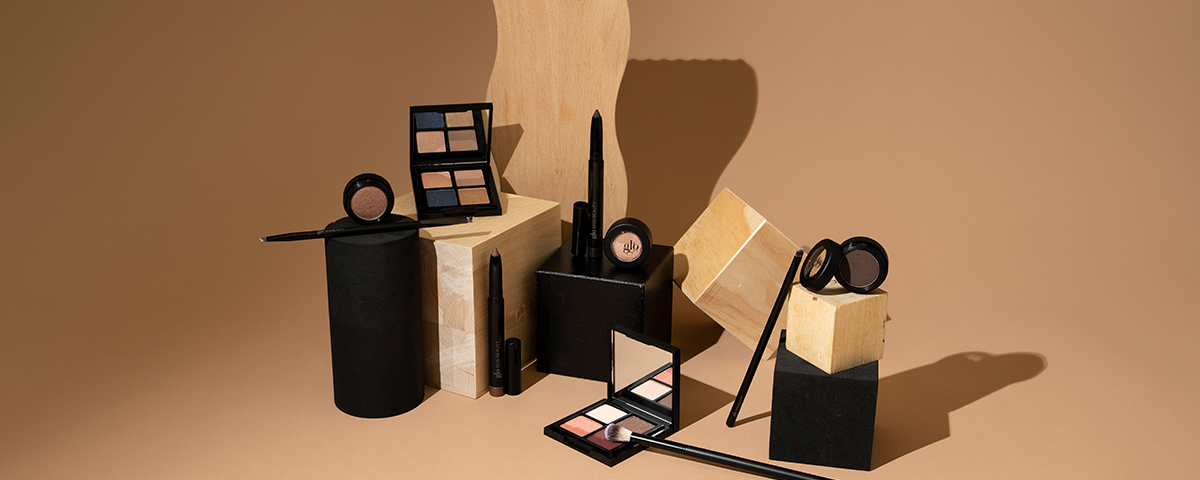
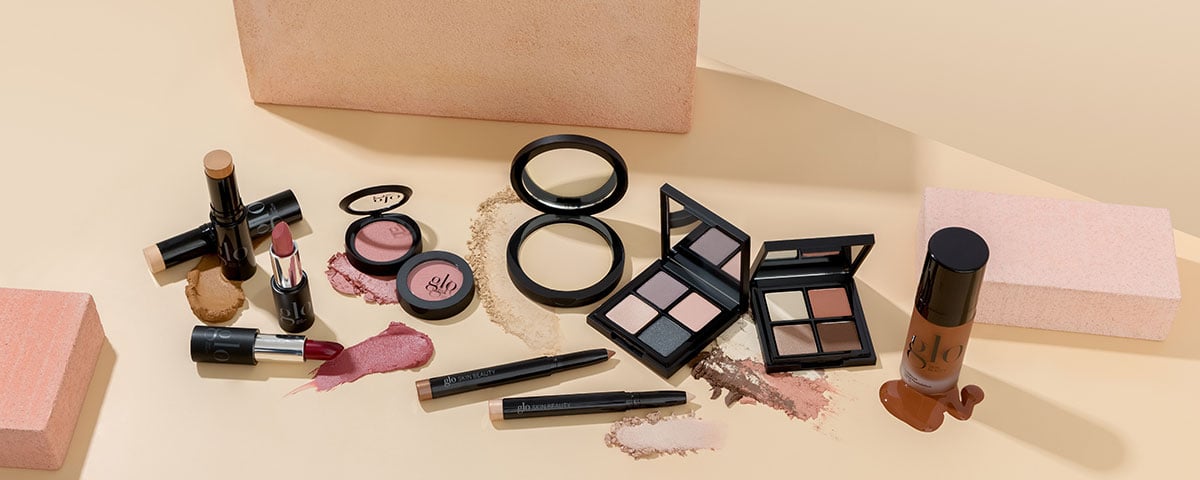
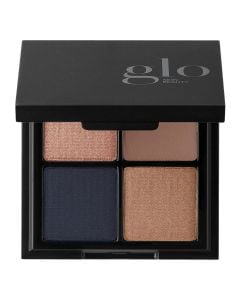
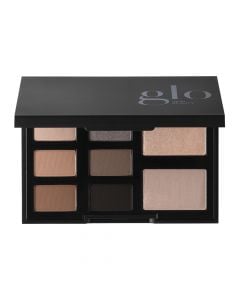
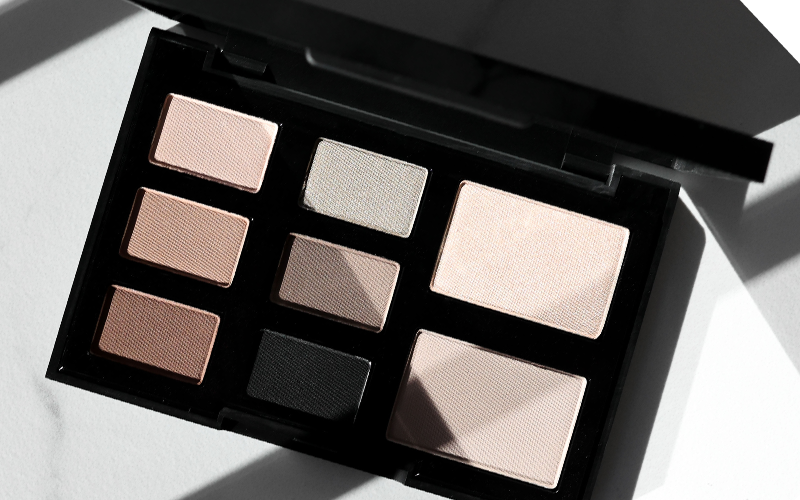
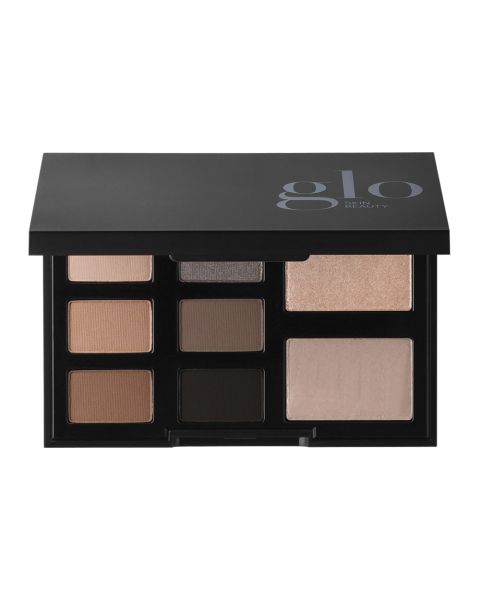
Smokey, ombre, cut crease, or just soft and natural, there are endless techniques to create multi-colored effects on the eyes. Just be sure to choose a color scheme that includes a matte, a mid-toned earthy-neutral eyeshadow color for blending, a lighter shade that can be used for base or highlighting and helps open up the eye space, along with a deeper shade for added depth and shape. Our Eyeshadow Quads feature all four shades you’ll need to create a seamless look, or for even more variety, try one of our eyeshadow palettes.
And, don't be afraid to mix up texture, layering powders over creams and vice versa or working with different finishes such as mattes, metallics, and shimmers. This can elevate any eye look adding natural dimension. At a bare minimum, have one dense and one fluffy brush on hand for precise placement and blending. Start with a small amount of product, layer, then blend until the effect you want is achieved. It's always easier to add than take away, especially with an eye makeup look.
How To Apply Eyeshadow on Hooded Eyes
A question we get asked a lot at Glo is how to apply eye makeup on hooded eyes. Hooded eyes are a type of eye shape where the eyelid crease is either partially or completely concealed when the eye is open. That's why it can be a little more challenging to apply eyeshadow if you haven't learnt a few techniques. "We like to enhance hooded eyes by creating the illusion of a more defined crease and larger lid space," explains Janeena.
Apply a matte transition shade above the crease to visually lift and open the eye. Then build in darker eyeshadow shades on the outer corner and blend these above the crease to create depth and definition. Try a lighter or shimmery shade on the lid to brighten the eye. You can also add eyeliner to define the lash line and create a winged effect which also gives a widened eye look. Don't forget mascara too to build and sculpt lashes.
How To Apply Eyeshadow on Mature Skin
If you have concerns around fine lines and wrinkles or looser skin around the eye area, you'll want to make sure you're prepping the eye area carefully with a nourishing eye cream. Always start your eye makeup look with an eye primer to smooth the area and set the perfect base to keep the eyeshadow in place. Go for eyeshadows with a creamy texture that won't settle into fine lines. Play with the eyeshadow effects and colors that best suit you.
Practice does make perfect too, so find your inspiration, plan out your look, and try having a few goes to apply your eyeshadow to create your perfect effects before the big event. And, if you want to take things up a level, try mastering the perfect smokey eye makeup.
November 29, 2023
Related Products


Related Posts